OS_Lab 1 Booting a PC
Last updated on a year ago

step5 是课程导论,介绍该课程的安排以及Unix的使用
这次作业是 介绍汇编和一些工具的使用
现在开始:
Software Setup
先把源码 该章节的源码 clone下来
1 | |
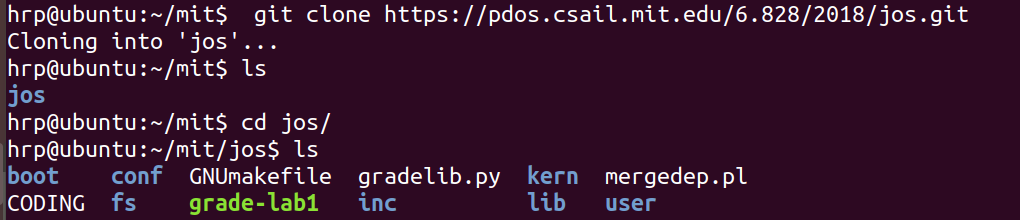
这两部分是 clone源码和该怎么用 git交作业的 不必细说
Part 1: PC Bootstrap
1. Getting Started with x86 assembly
这里申明了 该os是采用 AT&T 风格 的汇编(我接触比较多的是 Intel 风格) 这部分是 让我们熟悉汇编语言,接下来的课程 打好基础,(我会另起一章专门写汇编)
2. Simulating the x86
进入目录 make
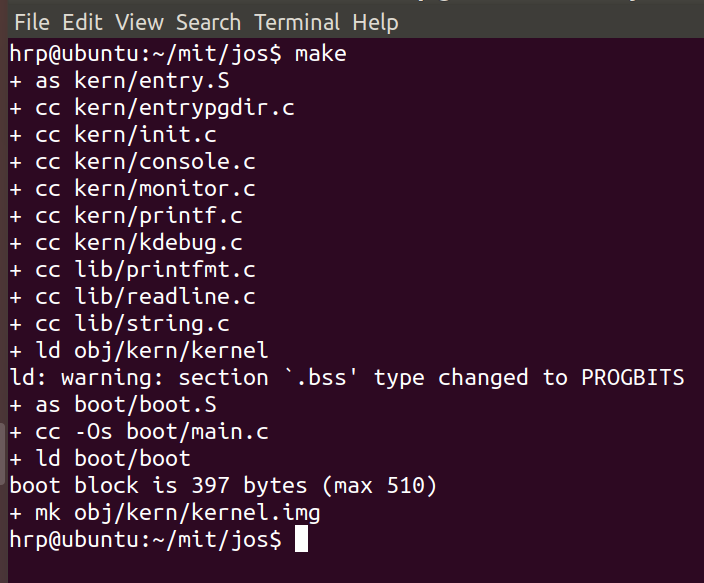
可能会有这个报错! 这是 一个整数是 64位除以 一个数位32位的时候 ,官方说安装 gcc-multilib
但没什么用,我直接把这个函数参数成32位了…先这样再说吧(这个是打印数字的 函数)

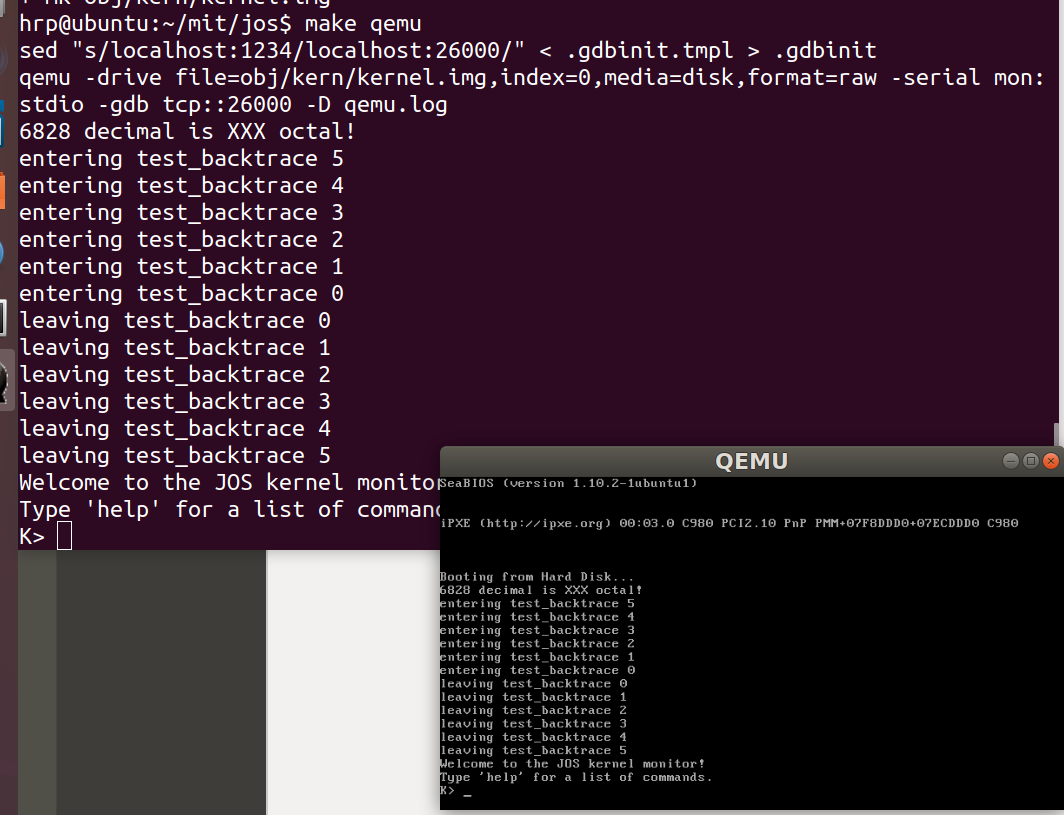
运行 qemu (关于的qemu的安装,网上有很多)
The PC’s Physical Address Space
下图是 内存的布局(4gb),早期的内存只有 1Mb,为了兼容以前的所以还是保留下来,这1Mb 接下来我们会使用到!

Part 2: The Boot Loader
part2 是引导程序 BootLoader 的介绍, 这个是什么呢?
电脑启动是时候 会有个
一句话来表达就是 系统运作之前 所运行的程序,当我们按了开机键,首先是 运行这个程序,现在的大多数电脑 这个程序都 写死在主板里(GRUB?)。
- 这个程序有什么用?
- 硬件自检,如显卡 ,声卡那些…
- 这个并不是真正的操作系统,所以这个程序的作用是 找到 OS,并把这个OS程序加载到内存中 (OS 也是一个程序!),随后转让控制权。
- 这个 BootLoader 程序 cpu怎么找到的呢?
开机的时候,就开是扫描 硬盘,硬盘被划分为512字节的区域,称为扇区,一个硬盘有很多扇区,扫一次 就一个扇区,如果找到了(如何判定? 如果这个扇区的最后两个字节内容是0x55和0xAA 则就是要找的 ) 将这个 512 字节扇区加载到内存地址为 0x7c00(为什么是这个,这个是有来源的 ,大家可以找下),加载完成后 ,执行 cpu 就跳到 0x7c00 处开始执行程序,
Exercise 3
看 os启动的流程 ,gdb调试 ,启动主要有两个文件 boot/main.c 和 boot.s
1 | |
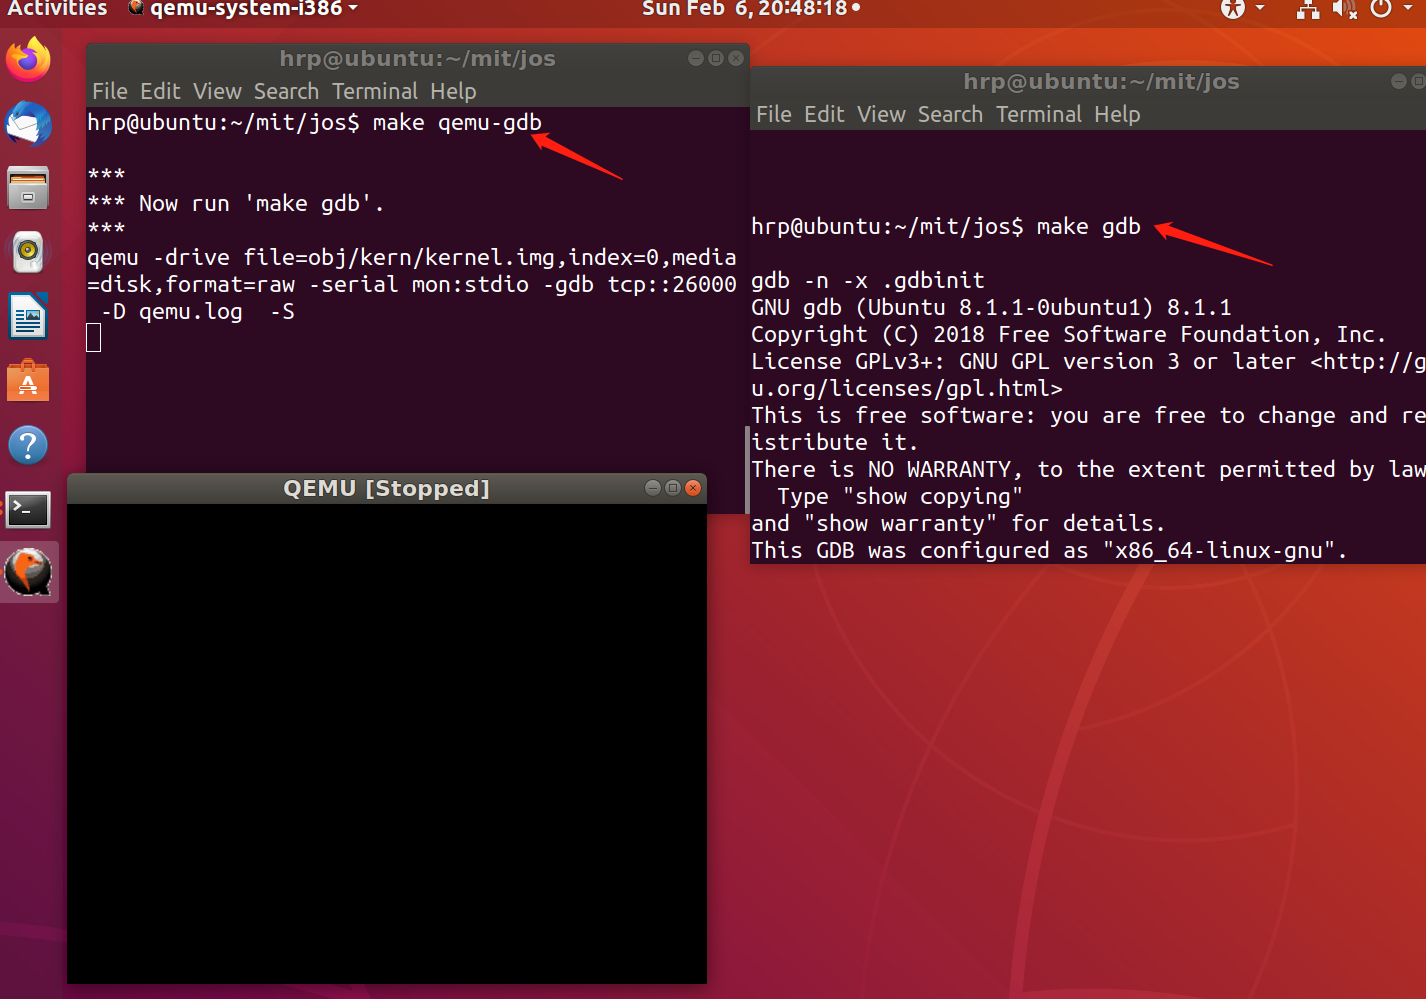
开始gdb调试
一个窗口运行 make qemu-gdb (开启了个端口)
再开一个窗口运行 make gdb (运行行了一个gdb脚本,远程调试)
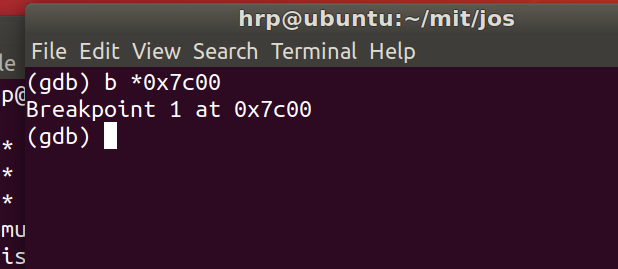
现在我们开始 打断点 教材里有说说到是 从 0x7c00 开始的,断点设到 0x7c00 ,b -》 break
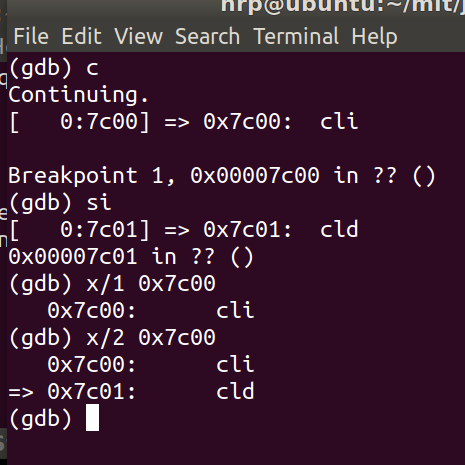
c 一直执行知道遇到断点
si 意为 执行下一步汇编
x/N ADDR 为看这个地址的汇编指令 N为查看几条指令
info register : 查看 寄存器的值
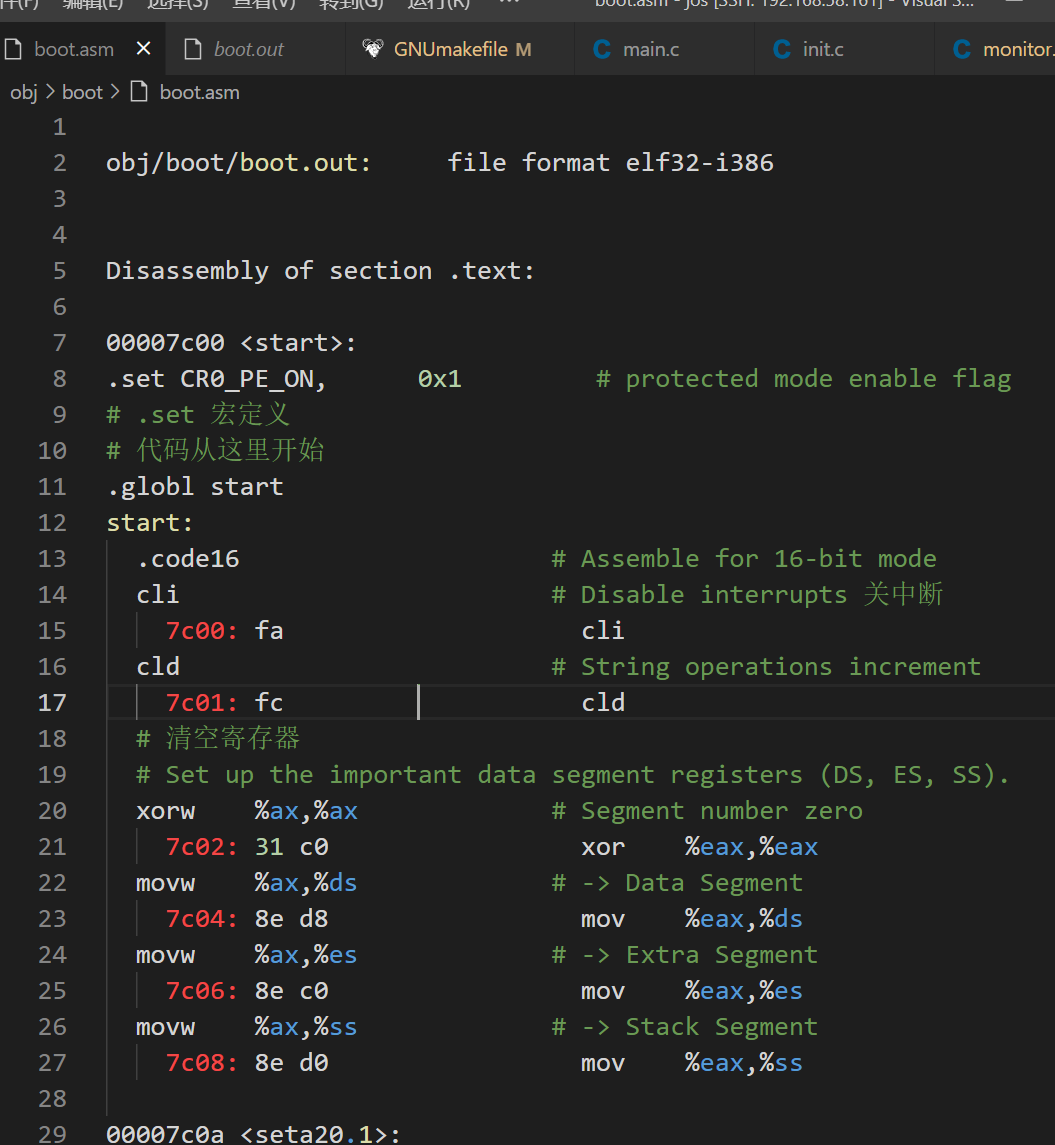
按照教材意思 比对 boot反汇编的代码和 gdb调试的代码
boot返汇编的代码在这,比对了下 objdump 反汇编的出的风格还是 Intel的, 和gdb 调试也差多少 ,从 0x7c00开始一步一看吧

boot.o 反汇编的代码
当调试到 这一步时 地址为 0x7c2d时候 ,提示现在处于 i386状态(32位下)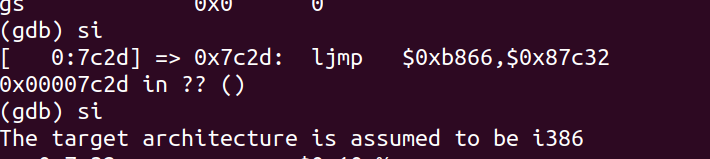
在反汇编的代码中 也可以看出 7c2d 后有 伪指令 .code32 意为切换到32位模式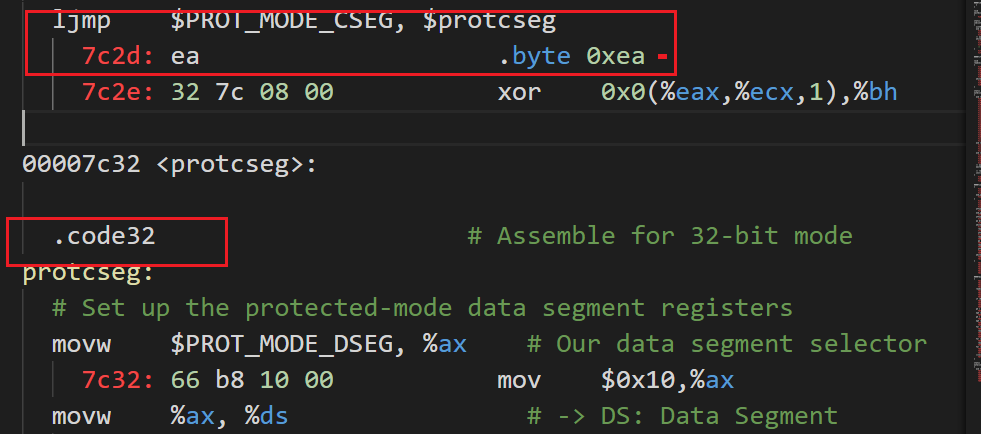
关于 elf 得新开一个章节 来描述
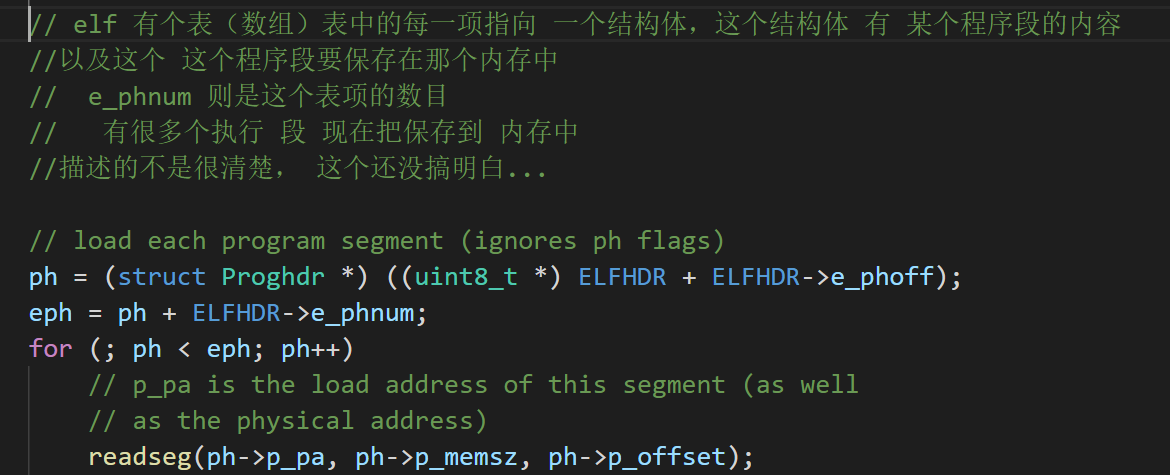
这里加载从磁盘里加载内核 ,怎么加载呢?结合elf 头 的信息,看要读多少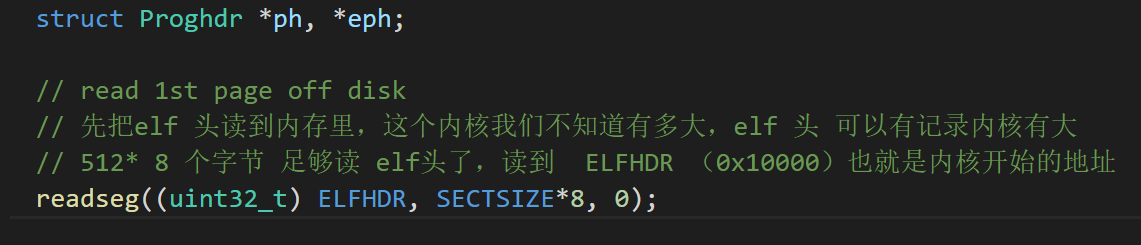
这里是 把内核 读到 内存里并执行
首先有个问题是怎么读? (这里涉及到elf 的内容,elf 详细内容不在该章节细说)
elf 头 我们已经从 磁盘中读到内存了,目前只是elf 的头部读到内存了,但是 elf 所包含的程序段 没有读到内存里,所以呢,
Exercise 4.
检查下你的对指针的运用,就是指针运用基础,注意下 不同类型的指针的步长
Exercise 5,6
debug 查看从 boot 加载 kernel 的过程,这些可以对照boot.o 反汇编的文件和 kernel的反汇编文件逐步调试对照,就可以清楚的知道了
Part 3: The Kernel
这部分开始讲 虚拟内存,开始之前再重新 把前面的内容捋一遍!
qemu启动,执行 从boot 代码段执行,
从内存地址 0x7c00 处开始执行代码
关闭中断,开启 A20线, 开起gdt
调用 bootmain 函数
加载 内核文件 到内存里
首先是 加载 elf头
根据elf 头提供的信息,把elf文件中的 程序段加载到对应的内存中
(不是很详细,后续再补充 )
跳到 elf 的入口函数 entry
Part3 讲的是虚拟内存 和 物理内存的映射,在这把那些细节 描述的很清楚,给了个结论,让我们去验证下,
Exercise 7
验证 物理地址转换虚拟地址
执行 movl %eax, %cr0 后就开启了 分页 ,可以看到地址不同

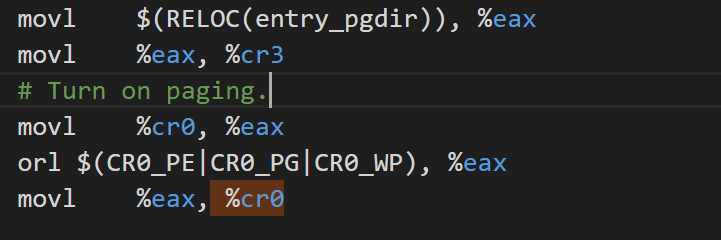
执行 movl %eax, %cr0 前 0xf0100000 内存都是空的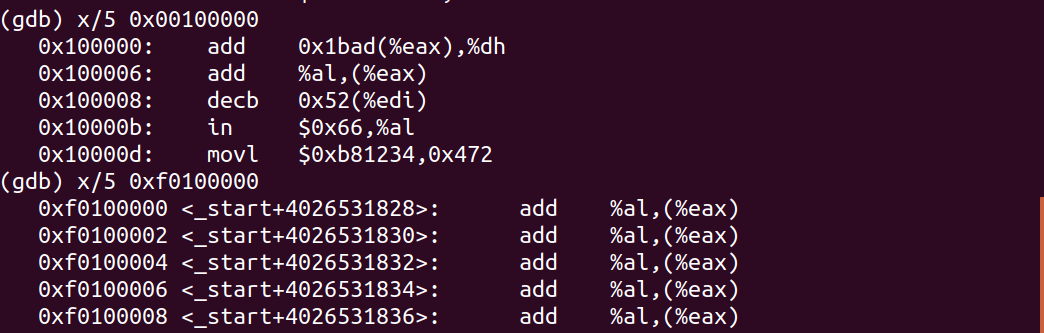
执行后 0x 100000 映射到了 0xf0100000
Formatted Printing to the Console
Read through kern/printf.c, lib/printfmt.c, and kern/console.c, and make sure you understand their relationship. It will become clear in later labs why printfmt.c is located in the separate lib directory.
看这些 源码,print 实现也大同小异,相对于 《JamesM’s kernel development tutorials 》 ,我觉的后者 print实现 比较容易理解!可以去参考下
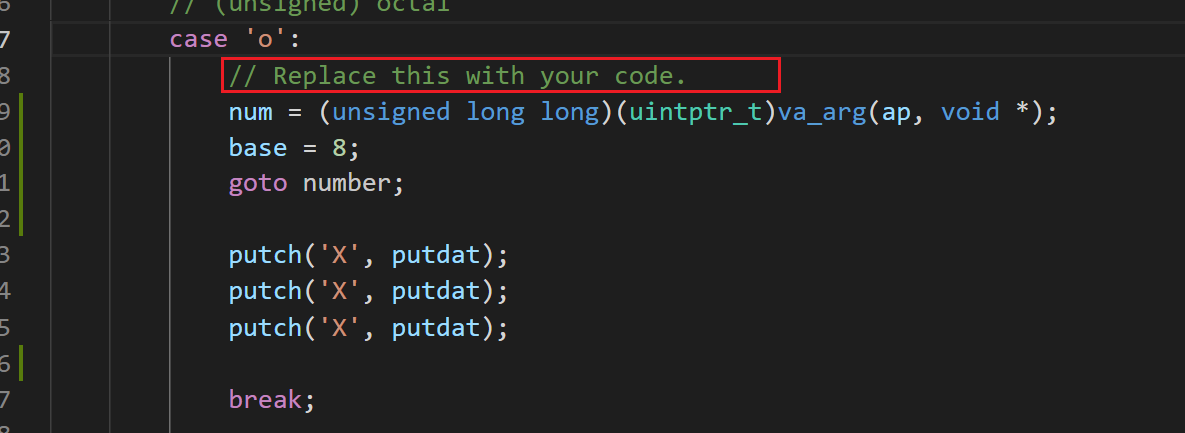
Exercise 8
print 有个 %o 没实现,就是 数字按照 8进制打印出来 ,下图仿照 %x 输出 写了个,就是换个参数..
os 最开始的运行时,有打印一个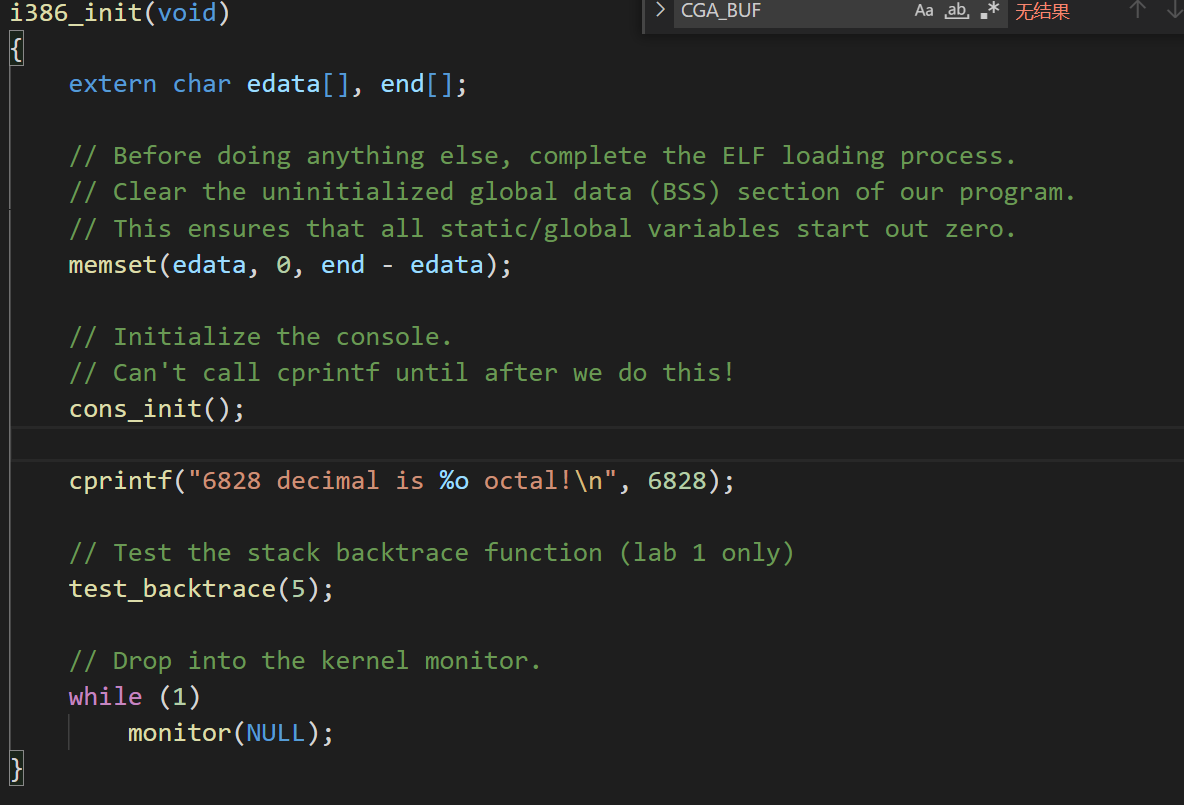
没修过前是 输出

添加 %o 输出后 15254 是 8进制,转成 10 进制 6828

很多细节,先放下,后续再补…
The Stack
Exercise 9
看 栈的初始地址 在哪里
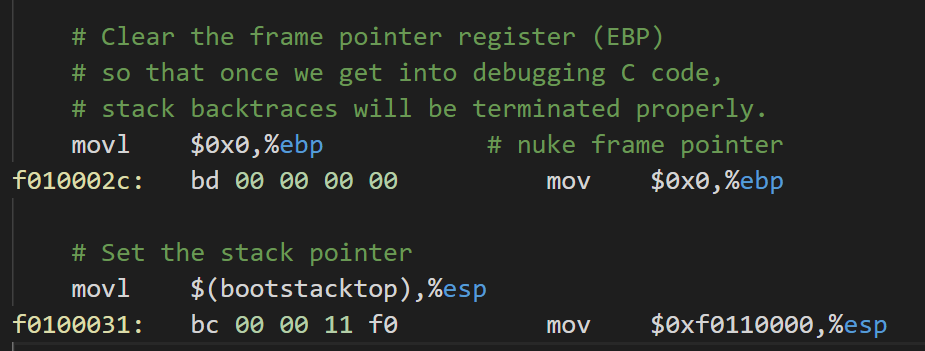
从以上 代码可以看到 初始化了esp 和 edp,这函数调用的深入下也可以写很多东西,先挖个坑吧….
初始化后 看下两个寄存器的 值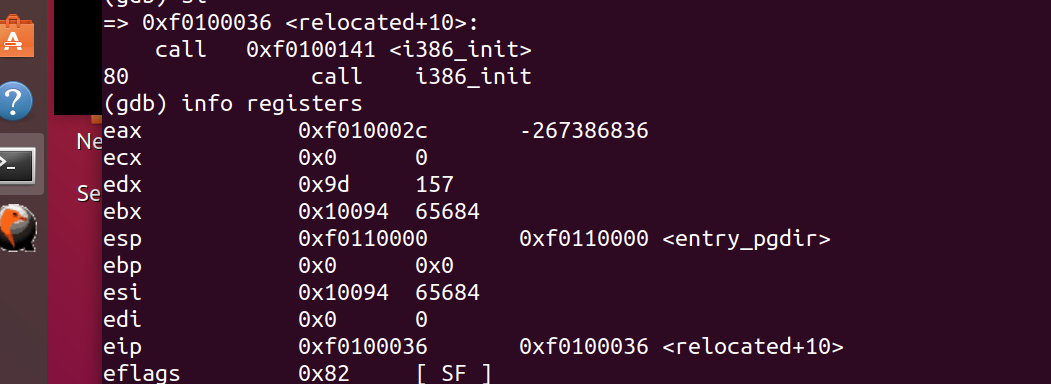
可以得出 栈的地址是冲 0xf0110000 开始的
esp 指向了栈的指针 , bootstacktop 的定义我们可以看下 (合理 运用 ide ,我是用 vscode全局查的)

可以的出 栈的大小为 8 * 4096 字节 (SPACE申请一片内存空间)…..
带更新,,,